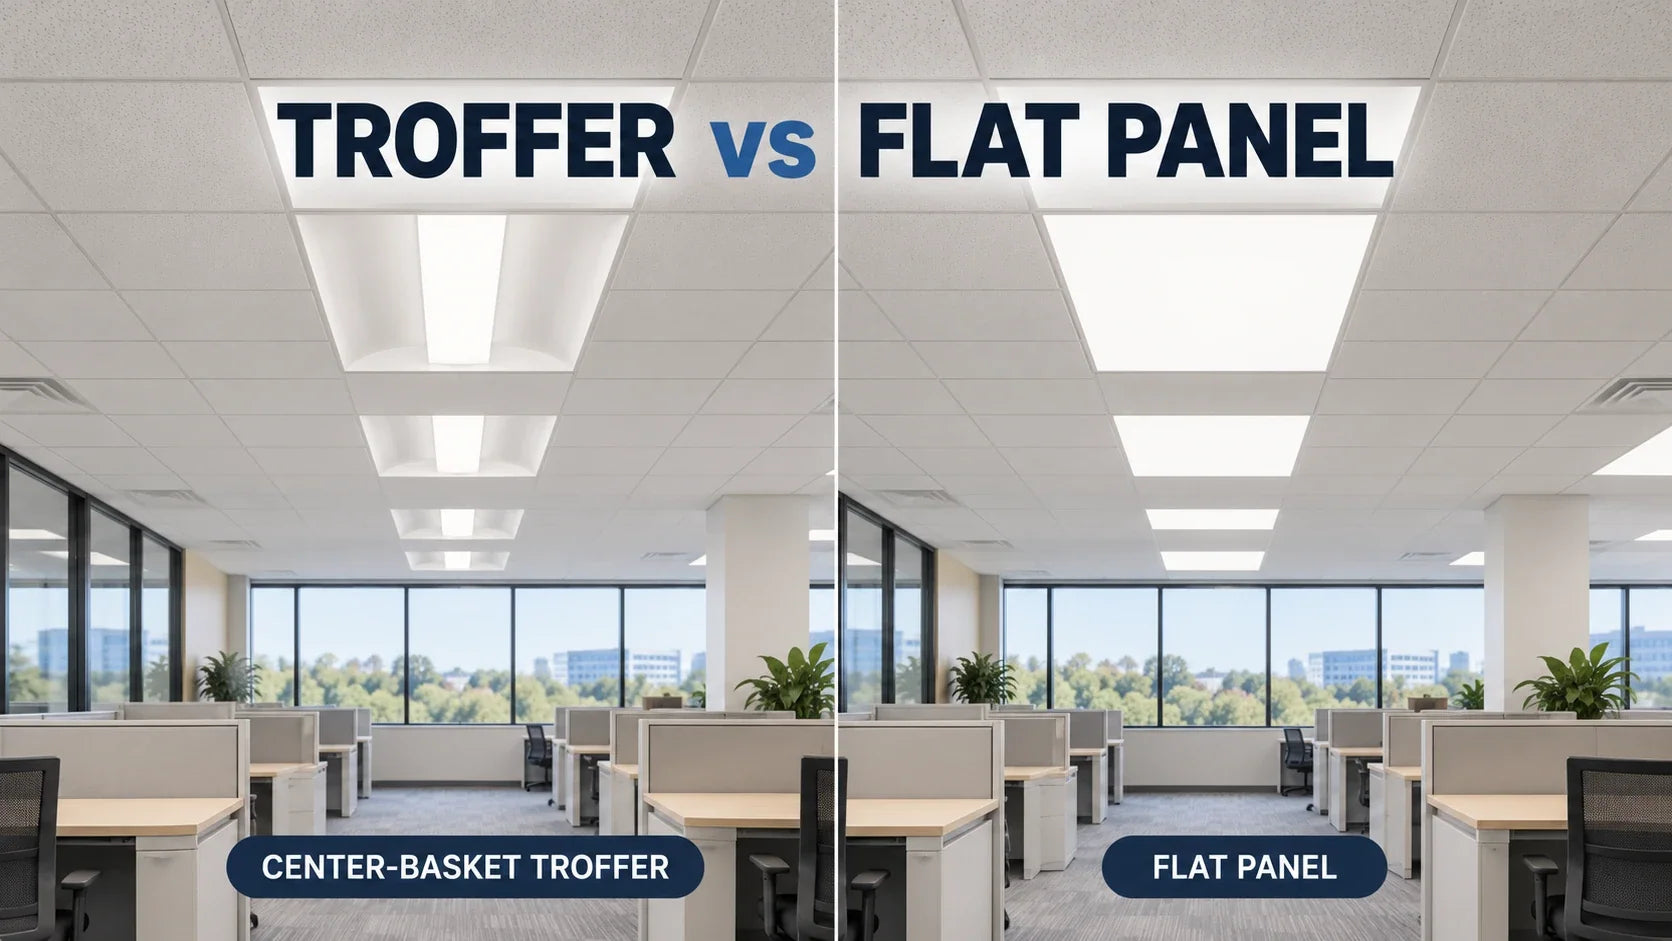
LED Troffer vs. Flat Panel: Which Should You Choose for a Drop Ceiling?
Compare the light appearance, ceiling clearance and installation considerations of troffers and flat panels.
Read the article →
Choose complete LED flat panel lights around the ceiling opening, mounting method and controls. Compare 2x2, 1x4 and 2x4 formats; count mounting frames and other required parts separately from the fixtures.

Ceiling application shown; verify fit for the selected fixture.
Measure the opening, clearance above the ceiling and the lift-in route. A nominal 2x2 or 2x4 label does not replace the actual fixture dimensions.
Use With Surface Mount Kit or No Surface Mount Kit where offered. The separate 1x4 surface-mount light is a complete fixture; an aluminum frame is a mounting accessory.
Compare the listed selectable wattage and color-temperature configurations. For 0–10V panel models, match the driver and control rather than assuming the existing wall dimmer will work.
| Decision | Available features | Selection check |
|---|---|---|
| 2x2 / 2x4 panel models | Selectable wattage, five color-temperature choices and 0–10V dimming. | The matching specifications list 40/35/30/25/20W for 2x2 and 72/60/50/40/30W for 2x4. |
| 1x4 fixture choices | A standard panel and a separate complete surface-mount model. | Compare the exact light and mounting method; do not treat both products as the same kit. |
| Mounting frames | Accessories rather than complete lights. | Order the compatible size and the required fixture separately. |
Select your size and kit option on the product page. For help with a larger order, send a ceiling photo, opening dimensions, dimmer details and quantity.
Compare fixture format and ceiling fit before ordering. Count complete lights and any required mounting parts separately.

Compare the light appearance, ceiling clearance and installation considerations of troffers and flat panels.
Read the article →See what a 5,000-lumen output means when comparing light levels.
Read the guide →Understand color rendering before selecting lighting for displayed products and finishes.
Read the guide →Learn what certification labels mean, then check the documents for your selected fixture.
Read the guide →Try fixture placement and compare estimated illuminance and power before deciding on a layout.
Try the tool →Excludes Alaska and Hawaii. Confirm delivery timing for your project.
Shipping informationKeep the original packaging and contact support before returning an order.
Return conditionsQuestions about your selection? sales@ggjia-led.com
A solid-ceiling installation needs the selected fixture’s compatible surface-mount arrangement; a panel intended for a ceiling grid is not automatically ready for direct mounting. For the standard panels with a Kit selector, choose With Surface Mount Kit when that kit is needed. The separate 1x4 surface-mount light is a complete fixture, while an aluminum frame alone is not a light. For suspension, request a compatible suspension kit and inclusion list for the exact model.
Use a room layout and target task-lighting level, rather than the panel size alone, to determine quantity. Measure the room and mounting height, identify the desks or work surfaces, and note any lights that will remain. Then compare the chosen panel’s light output and distribution at the intended setting. A 2x4 format does not by itself tell you how many fixtures the room needs. Send these details to GGJIA for a free photometric layout before ordering the full quantity.
Keep the existing dimmer only if it is compatible with the selected panel’s driver. A 0–10V driver needs a matching 0–10V control arrangement; a standard phase-cut wall dimmer is not automatically interchangeable. Check the dimming range, minimum light level and full-off behavior, then test a sample with the proposed control. A dimmable label alone does not guarantee flicker-free operation at every setting or compatibility with cameras.
Do not assume that a complete LED panel is a plug-in replacement for an old fluorescent housing. Have the installer review removal of the old fixture, the ballast and supply connection, ceiling support and control wiring. Match the panel’s actual dimensions and installation access to the ceiling, then confirm the planned driver and dimmer arrangement. This is a complete fixture replacement; retaining the old housing would require a retrofit product approved for that housing.
Compare flat panels and LED troffers — Review ceiling fit, fixture format and control requirements before replacing existing lighting.
Selectable wattage lets the installer choose one of the fixture’s listed power settings, changing its light output. Selectable CCT changes the light’s color appearance, such as warmer or cooler white; it does not replace a wattage choice. Set both for the room before completing installation, following the fixture instructions. Options differ by model, so use the chosen product’s setting list rather than assuming every 2x2, 1x4 or 2x4 panel has identical switches.
Send the fixture format or opening dimensions, required quantity, supply voltage, mounting method, proposed controls and delivery destination. Include whether you need complete lights, mounting kits or frames only, so accessories are not mistaken for fixtures. If a project requires a particular safety listing or rebate qualification, request evidence for the exact SKU. GGJIA can then review the model and parts against the brief; do not infer a confirmed voltage range or certification from the collection name.
Thanks for subscribing!
This email has been registered!
| Product | SKU | Description | Collection | Availability | Product type | Other details |
|---|